How to make the perfect egg? Soft-boiled, hard-boiled, scrambled, omelet, or poached? We'll show you how, and along the way, we'll present accessories that will become your ally in preparing a champion's breakfast!
The Egg: An Ode to Perfection, or a Breakfast Fit for Champions
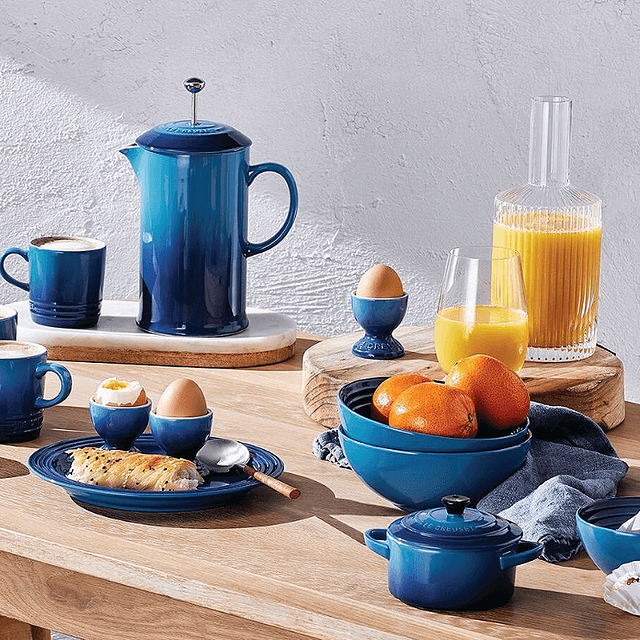
The egg. Seemingly simple, yet in reality – an absolute phenomenon of nature and a culinary cornerstone. Its perfect, oval form has inspired artists, from Renaissance still-life masters to Salvador Dalí's surrealist obsession, who saw it as a symbol of hope. So, let's treat the egg with the respect it deserves. Instead of a breakfast on the grass, we'll set up a breakfast on the table, with the egg taking center stage, a true work of art.
How to Boil Soft-Boiled and Hard-Boiled Eggs?
The Great Boiling Debate: A Final Resolution
Let's start with a question that divides culinary worlds and is the cause of many a morning debate: should you put eggs in cold water or boiling water? It's time to end this war once and for all.
Well, ladies and gentlemen, both schools of thought have their merits, but only one offers precision worthy of a Swiss watchmaker.
The Beginner's (and Cautious) Method: Cold Start. Placing eggs in cold water and gradually heating them is safer. It minimizes the risk of the shell, suffering thermal shock, cracking and releasing picturesque protein wisps. It's a good, solid method, but it's harder to achieve perfect consistency.
The Connoisseur's (and Your) Method: Boiling Start. If you dream of a perfectly runny yolk and a perfectly set white, this is your path. Gently placing an egg (at room temperature!) with a spoon into salted boiling water gives you full control over the timing. From the moment of immersion, every second counts. This is how chefs do it.
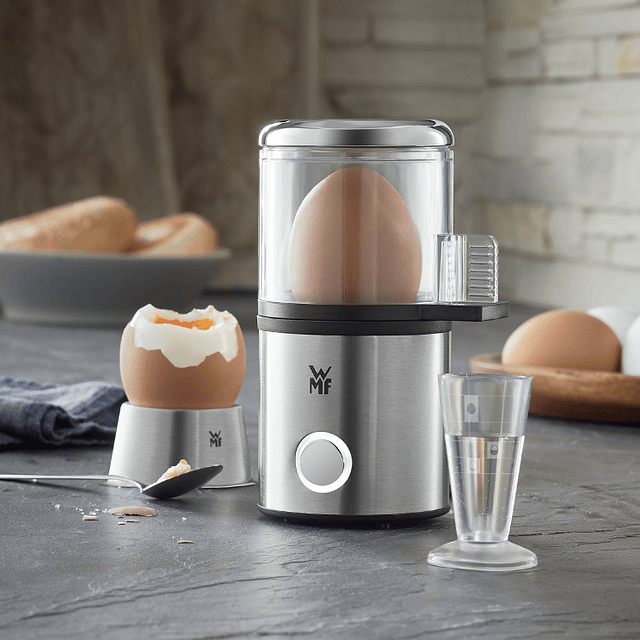
How Many Minutes to Boil Soft, Medium, and Hard-Boiled Eggs?
The Ultimate, Verified Recipe for Perfection:
Take eggs out of the fridge 20-30 minutes before boiling. This is crucial.
Boil water in a pot with a pinch of salt (it increases water density and "seals" any potential cracks).
Gently, using a spoon, place the eggs into the boiling water.
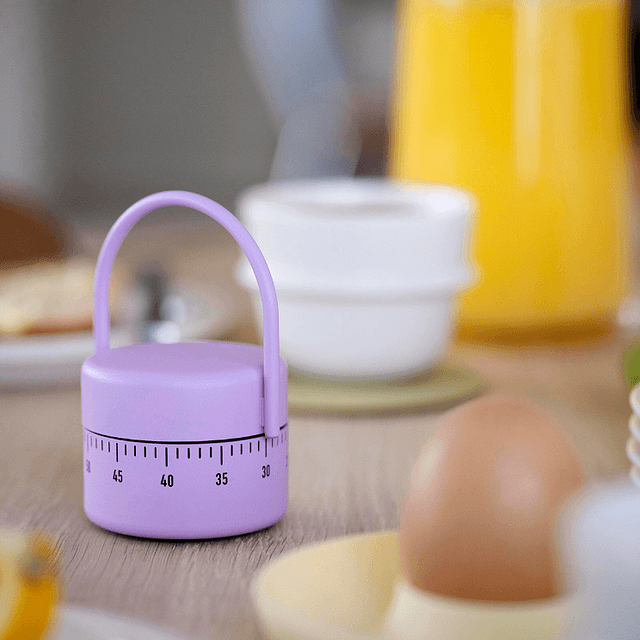
From this moment, time it (preferably with a designer timer):
Soft-boiled: 4-5 minutes (runny yolk)
Medium-boiled (mollet): 6-7 minutes (yolk like a thick cream)
Hard-boiled: 8-10 minutes (yolk perfectly set, but still velvety)
After the time is up, immediately transfer the eggs to ice-cold water. This will not only stop the cooking process but also make peeling a pure pleasure.


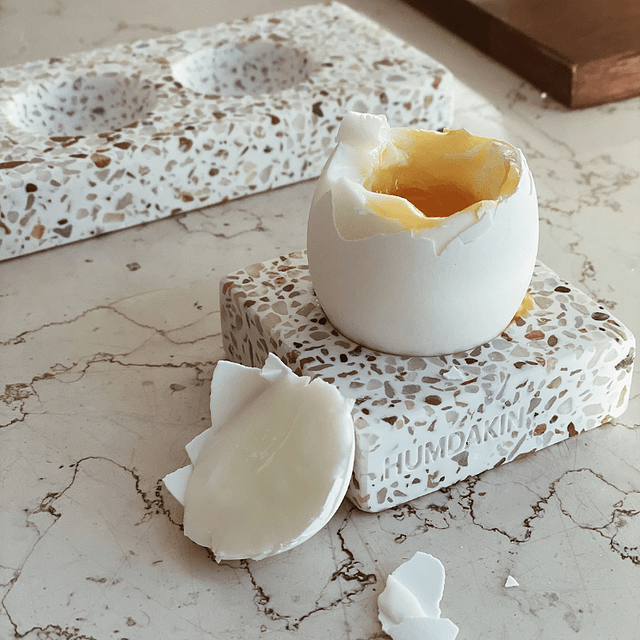


How to Peel Eggs?
Operation: Smooth Egg, or the Art of Perfect Peeling
Boiling an egg is half the battle. The other half is removing the shell so it doesn't look like a battlefield. Why does the shell sometimes cling to the white so stubbornly? The culprit is usually freshness – the fresher the egg, the lower the pH of the white, which makes the membrane under the shell adhere more strongly to it. But don't worry, we have proven methods for this.
When to peel? Always after it has completely cooled! The thermal shock you subject the egg to by plunging it into ice-cold water causes the white to contract and slightly pull away from the shell. Give it a moment in this cold bath, and it will reward you with smoothness.
Life hacks that actually work:
- The baking soda trick: At the boiling stage, add a teaspoon of baking soda to the water. It raises the pH, weakening the membrane's adhesion. Simple and brilliant.
- The rolling method: After cooling and drying, gently crack the shell all over, then roll the egg on the counter, pressing lightly with your palm. You'll feel the shell come off in larger pieces, almost entirely.
- The water technique: Peel the egg under a stream of cold water. The water penetrates under the shell and membrane, helping to separate them painlessly from the white.
- The "shaken, not stirred" method: This is our favorite! Place a cooled, slightly cracked egg in a small jar or glass, pour in a little cold water, cover with your hand, and shake vigorously for a few seconds. The result? The shell practically slides off the egg on its own.
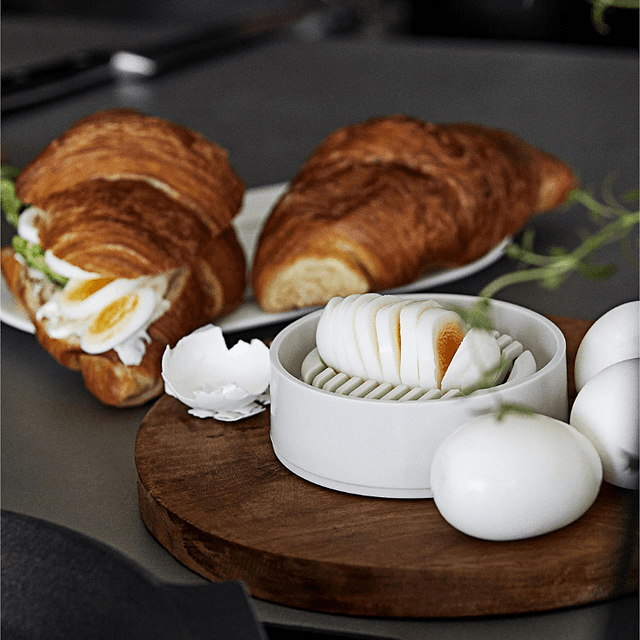
- What about gadgets? You'll find various egg accessories and peeling tools on the market, but the truth is, your hands and the techniques above are the best tools. Sometimes the simplest solutions are the most elegant.


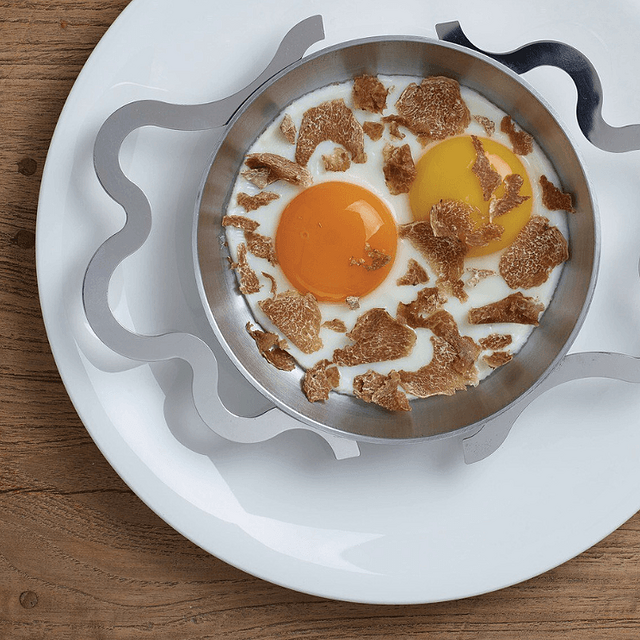
How to Make a Poached Egg?
And now, let's move on to a higher level of mastery. A poached egg, also known as "poché," is the crowning glory of avocado toast, the heart of legendary eggs Benedict, and the object of desire for every self-respecting foodie. It looks like a small work of art – perfectly round, with a velvety white embracing a runny, hot heart. Achieving this effect is simpler than you think!
Poached Egg: Culinary Haute Couture on Your Plate
The shortcut, or a guarantee of success: Don't feel up to tackling the chef's method? All is not lost! Reach for a secret weapon: special baskets or silicone molds for poaching eggs. Simply grease the mold lightly with butter, crack an egg into it, and place it in a pot of gently simmering water. The result? Always a perfect, consistent shape, without stress and without the fuss of creating water whirlpools. It's a simple trick for a breakfast straight out of the best restaurant.
The classic method for the brave: Want to feel like a professional? Roll up your sleeves!
Freshness is key: Use the absolute freshest egg you have. Its white is firm and thick, so it won't spread all over the pot.
A bath with extras: In a wide pot, bring water to a boil and then reduce the heat – it should only gently "shimmer," not bubble. Add a generous pinch of salt and a tablespoon of spirit or wine vinegar (don't worry, you won't taste it!). Vinegar is a magic ingredient that helps the white set faster and maintain its shape.
A bowl is your friend: Never crack an egg directly into the water! First, crack it into a small bowl or cup.
Create a whirlpool: Take a spoon and vigorously stir the water in the pot, creating a whirlpool in the center.
Act! Gently, with one fluid motion, pour the egg from the bowl into the very center of the whirlpool. The centrifugal force will cause the white to wrap around the yolk.
Patience: Cook the egg for about 3 minutes. Carefully remove it with a slotted spoon and gently pat it dry on a paper towel. Voila!


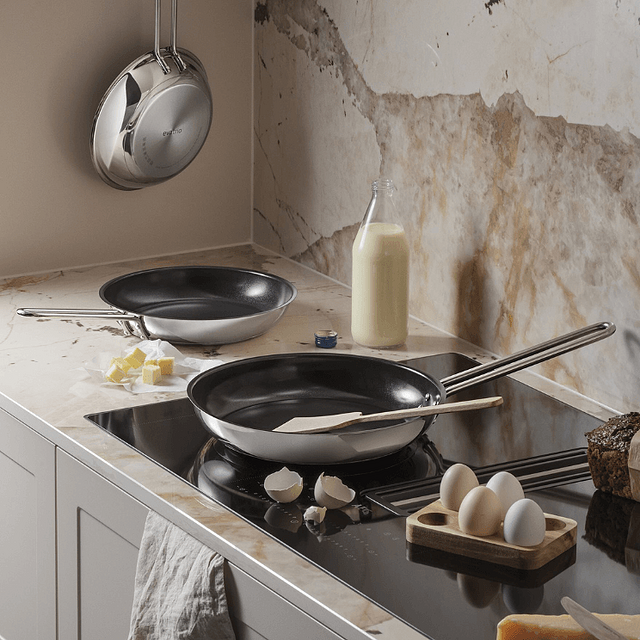
What Pan to Use for Scrambled Eggs?
Scrambled eggs are not just about cooking eggs. It's a ritual. And every ritual requires the right tools. A scrambled egg pan cannot be just any random piece of metal. It must be the stage where the spectacle of creaminess will unfold.
The Scrambled Egg Sanctuary: An Altar Called a Pan
What makes it ideal? First and foremost – with an impeccable non-stick coating. Eggs are delicate and love to stick, and scraping burnt scrambled eggs is one of the cardinal culinary sins.
But that's not all. Pay attention to the shape. The best pans have gently rounded, sloping sides. They allow for free movement of the spatula, continuous stirring, and fluffing of the egg mixture. It's this motion that makes scrambled eggs fluffy and uniform, rather than dry and lumpy.
When it comes to fat, nothing beats butter. Its milky flavor is the foundation of perfect scrambled eggs.


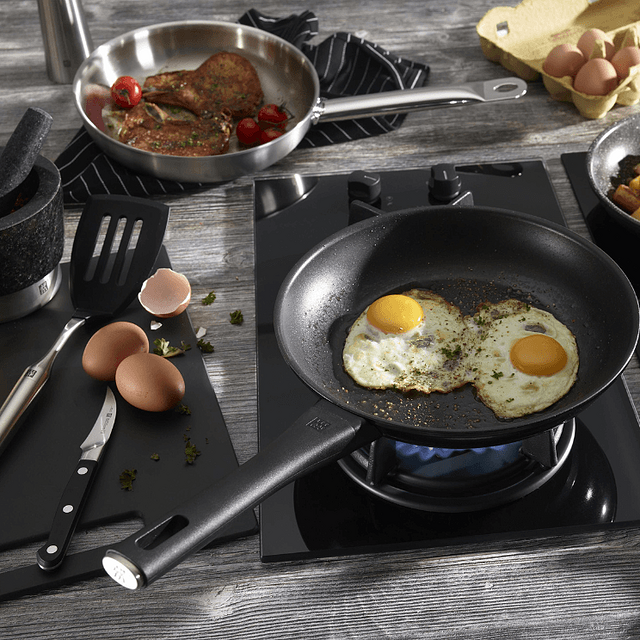
How to Make the Perfect Fried Egg?
If you've ever ordered breakfast in an American movie or diner, you've undoubtedly encountered the waiter's mysterious question: "How do you like your eggs?" It's time to decipher this code and master the art of frying eggs like a true short-order cook.
Like in an American Diner: A Small Lexicon of Fried Eggs
Sunny side up: This is the optimist egg. It's fried slowly, over low heat, without flipping. Sometimes it's covered for a moment with a lid so that the steam helps set the top of the white. The result? A perfectly set white and a completely runny, intensely yellow yolk that just begs for a crispy piece of toast to be dipped into it.
Over easy: "Gently flipped." After frying on one side, the egg is gracefully flipped for literally 20-30 seconds. This creates a thin, barely set membrane over the runny yolk. This is an option for those who love a runny yolk but prefer to avoid the risk of its violent eruption on the plate.
Over medium: "The golden mean." Here, after flipping, the egg is fried a little longer, about a minute. The yolk becomes thick and creamy, like a confiture. It's no longer runny, but still wonderfully moist inside. The ideal compromise between fluidity and firmness.
Over hard: "Well done." The egg for pragmatists. After flipping, it's fried until the yolk is completely set. Often, the cook will additionally pierce it with a spatula to ensure there are no liquid surprises inside.


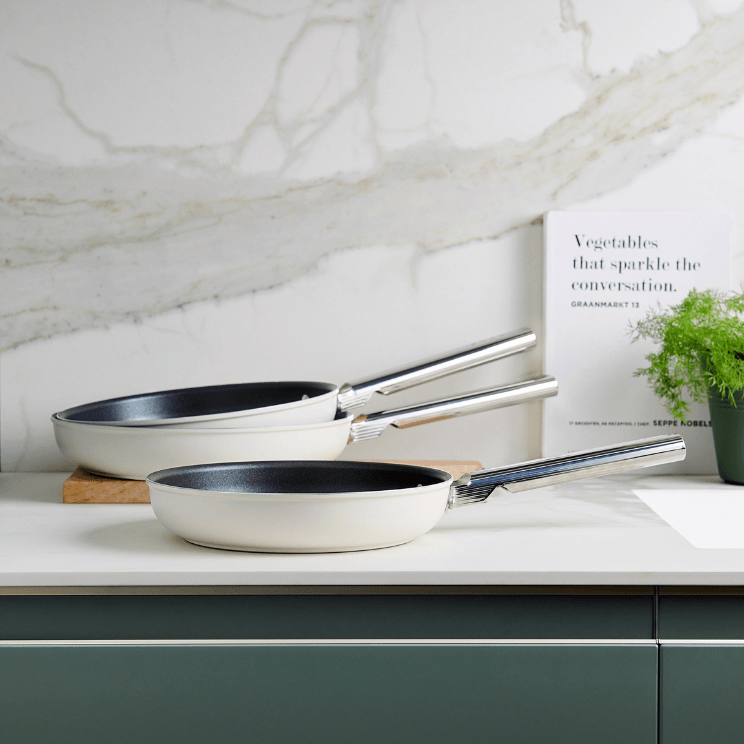


The Omelet King: French Chic on Your Pan
If a fried egg is solid prose, then an omelet is poetry. It's a versatile dish – perfect for a solitary, quick breakfast and for an elegant brunch with friends. The secret is technique and, of course, the right pan.
There are two main schools of omelet making:
French omelet: This is the pinnacle of elegance. Smooth and pale on the outside, delicately rolled or folded into three, and inside… creamy, barely set, almost liquid (connoisseurs say baveuse). It's fried over fairly high heat, vigorously stirring the eggs at first, then allowing them to set and slide off the pan into a neat whole.
American omelet: This is a fluffier and heartier cousin. Eggs are beaten longer, sometimes with a little milk, and fried slower, over lower heat. When the bottom is ready, generous fillings (cheese, ham, vegetables) are placed on one half, and then the omelet is folded in half.
A Few Universal Tips for a Masterful Omelet:
Two to three eggs is the ideal portion for one person and a pan with a diameter of about 20 cm.
Whisk the eggs with a fork in a bowl just until combined. Beating too long will make the omelet tough.
Butter is essential! Heat it in the pan until it starts to foam, but not burn.
Don't overdo the fillings. An omelet is about eggs, not a casserole. Add them towards the end of frying.


The Connoisseur's Instruments: More Than Just a Fork
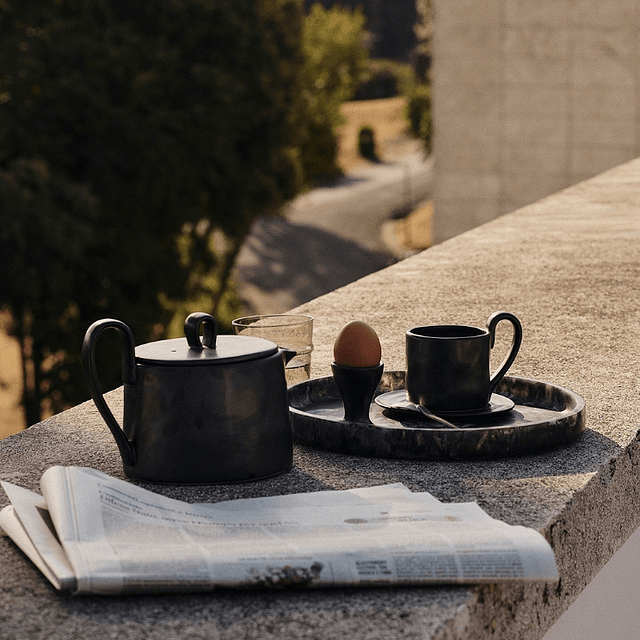
Once your egg is ready, it's time for celebration. And celebration requires the right setting.
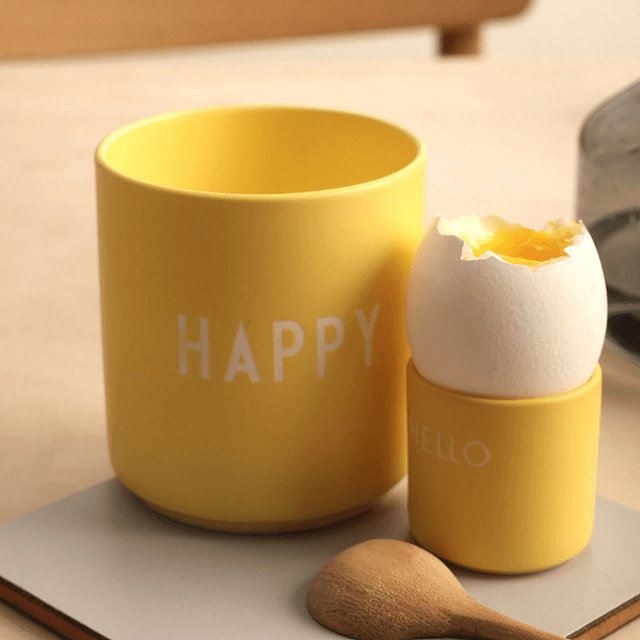
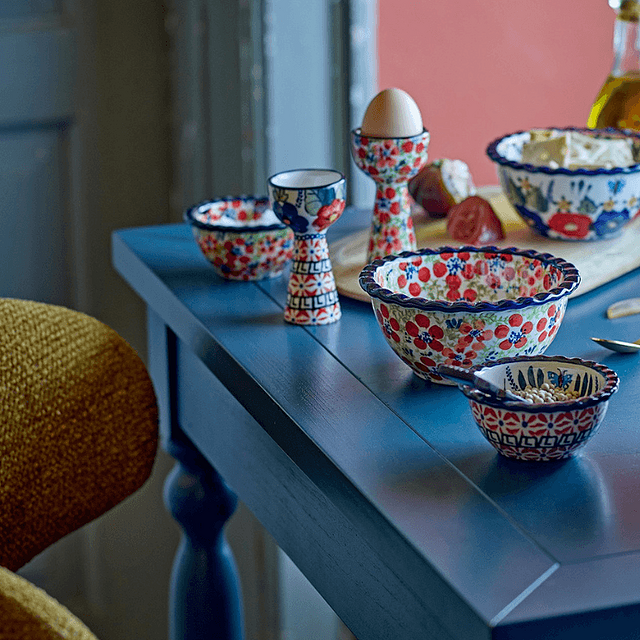
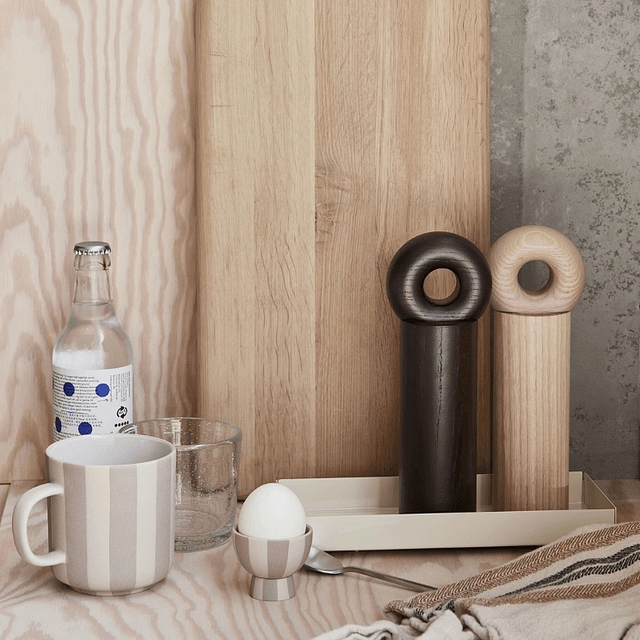
Egg cups: This is the throne for your soft-boiled egg. It allows it to proudly display its charms and facilitates access to the liquid gold inside. From minimalist Bauhaus porcelain to baroque silver – your choice speaks volumes about you.
Egg toppers: This small but ingenious guillotine-like instrument is the height of breakfast elegance. One precise cut and you remove the "cap" of the shell, revealing a perfectly set white. No more uneven struggle and crumbs in your food. Pure class.
Salt and pepper shakers: Let this be your personal signature on the masterpiece. Instead of mundane containers, opt for a duo that is a small sculpture. Perhaps a raw oak grinder? Or porcelain birds? They put the finishing touch, completing the composition on your table.
Treat egg preparation as a small, morning ritual. After all, as Alfred Hitchcock – master of suspense and, as it turns out, an egg connoisseur – once said, "There is no terror in the bang, only in the anticipation of it." And what could be a more beautiful, tastier silence than the moment a spoon breaks through a perfectly cooked soft-boiled egg? Bon appétit!