Brewing beer at home is great fun and a brilliant pastime! Not to mention the satisfaction of savouring your own homemade tipple. How do you brew a beer that will be aromatic, clear, and simply delicious? First and foremost, you need to arm yourself with the essential brewing equipment, learn the precise instructions for making homemade beer, and also find a moment of spare time and steel yourself with patience. Discover the secrets of home beer production!
Homemade Beer? It's Simpler Than You Think!
For some time now, craft beer has enjoyed great popularity. Craft breweries don't produce the golden brew on a massive scale; they are independent and brew beer using traditional ingredients and recipes. Craft beers are made by artisan brewers who carry out their work with passion and dedication.
You too can become a true artisan brewer and brew your own beer in the comfort of your home. And believe me, it's really worth it! The taste of homemade beer differs from store-bought products, decidedly for the better. To brew beer at home, you need to get your hands on the necessary equipment and raw materials. Besides that, you'll need a good deal of enthusiasm and patience – without those, you won't get anywhere!
You can make homemade beer in two ways. The first, more complex method, involving many stages, is producing beer by mashing, using raw ingredients that require processing. The second method is easier and involves making the golden brew at home from a ready-made semi-product, which is a brewkit.


The Home Brewer's Essentials
Producing...
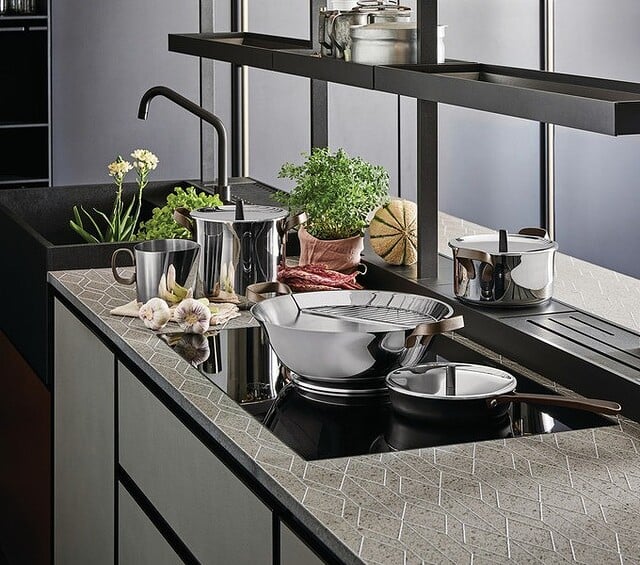
homemade beer won't be possible if you don't get your hands on the essential equipment, vessels, and raw materials. Therefore, your home brewing kit should include:
- a large pot with a lid, with a capacity of 20-30 litres – for preparing the mash and boiling water;
- a fermenter with a tap and lid – needed for filtration and bottling the beer;
- a fermenter with a lid and no tap – for the vigorous fermentation stage;
- a kitchen thermometer – to check at every stage of production whether the mash or water temperature is in line with the recipe;
- a hydrometer, also known as a saccharometer – essential for measuring sugar content;
- a fermentation airlock – its purpose is to block air access to the fermenter; it can be glass or plastic;
- a wooden spoon – essential for stirring the pot's contents while adding malt;
- Lugol's iodine solution – to check if the first stage of beer production, i.e., mashing the malt, has been successful;
- a bottle capper;
- bottles.


Besides the required equipment, you must get your hands on the raw materials that you'll use to produce your beer. If you decide to make beer by the mashing method, you'll need malt, hops, brewer's yeast, and malt extract or glucose. Furthermore, you'll need to set aside a few hours of your time to prepare the mash, filter, brew, cool, and pitch the yeast. After that, all that's left is waiting, as fermentation and maturation in bottles take about 1.5 months.


Find out more!
Homemade Beer from a Brewkit
We've already mentioned that homemade beer can be made in two ways. A less complicated method is brewing the golden brew from a ready-made semi-product, which is a brewkit. Beer from a brewkit is easier to produce than by the mashing method. A brewkit is brewer's wort in the form of malt extract with added hops, which is used to prepare homemade drink. This semi-product is sold in a can and comes as a thick and sweet syrup. Most often, a brewkit is part of a complete brewing kit, along with yeast and instructions for brewing homemade drink, which is invaluable help for those just starting their adventure with home beer production. However, connoisseurs argue that although brewkit beer turns out great and is ideal for beginners, mashing yourself is a better solution. By the mashing method, we can achieve beer exactly as we want it, step by step, from beginning to end.


How to Make Beer at Home by Mashing? Step-by-Step Instructions
- Mashing the Malt
The first stage of home beer production is mashing the malt. The aim of mashing is to convert the starch contained in the malt into sugar, so that at a later stage of brewing, it will turn into alcohol and carbon dioxide. You can buy whole malt and mill it yourself, or buy pre-milled product, ready for heating.
The malting process should begin by pouring water into a large pot and heating it to the appropriate temperature, usually around 65-70 degrees Celsius, although this value depends on the specific beer recipe. It's worth checking the water temperature with a kitchen thermometer. After heating the water, turn off the hob and pour the malt into the pot, keeping in mind that there should be three times more water than malt. While pouring in the malt, stir the contents of the pot with a wooden spoon. Then cover the pot with a lid, leaving the mash in it for about an hour. To check if the first stage of beer production has been successful, you should perform an iodine test. To do this, you need to take a sample of the mash onto a white plate and drop Lugol's iodine solution on it. If the solution does not change colour, it means the mashing process is complete and you can proceed to filtration.
- Filtration
Filtration involves separating the grain remnants from the aqueous solution, resulting in wort. To obtain filtered liquid, you will need a fermenter with a tap. The entire contents of the pot should be poured into it, and then you need to wait for the grain to settle at the bottom of the filtering vessel (this process usually takes about 30 minutes). In the meantime, the water in the large pot needs to be heated again, this time to 80 degrees Celsius. An igelite tube should be attached to the fermenter's tap, which is used to observe whether the filtered beer is clear. Initially, the brew will be cloudy, so it should be poured into a separate pot and then poured back into the filtering vessel. After a few litres, clear liquid will begin to flow from the tap. The clear liquid should be collected in a large pot, in which you will brew the beer. When the liquid level is so low that the thick part of the mash begins to emerge above the water's surface, pour the heated water into the fermenter and continue filtration.
- Brewing Beer and Cooling
The next step is brewing the wort by boiling it for an hour. During this process, two portions of hops should be added to the wort. After removing the pot from the hob, its contents should be cooled as quickly as possible to a temperature of 20 degrees Celsius. The simplest and recommended method is to place the vessel with the wort in a bath filled with ice water. Warning! From this moment on, the wort is susceptible to infection, so all accessories that will come into contact with it must be disinfected or sterilised. After cooling, the wort should be poured into the fermenter in such a way that as much sediment as possible remains in the pot.
- Pitching the Yeast
Before pitching the yeast, it's worth aerating the wort. To do this, simply shake the closed fermenter several times. After aeration, you can now pitch the yeast. How? All you need to do is scatter the dry yeast on the surface of the wort. Now you must steel yourself with patience! Refrain from constantly peering into the fermenter and let the yeast do its work.


- Vigorous Fermentation
Over the next few days, you'll observe various phenomena in the fermenter that will give the beer its strength and alcohol. First, small bubbles will appear on the surface, then you'll see a huge amount of foam. This is the stage of vigorous fermentation, which can last up to a week. However, the disappearance of foam does not necessarily mean the end of this fermentation. To find out if the vigorous fermentation stage has ended, you need to perform a series of extract measurements using a hydrometer. If the hydrometer shows the same value for two consecutive days, it means that vigorous fermentation has finished.
- Quiet Fermentation
After vigorous fermentation, it's time for quiet fermentation. To do this, the young beer should be racked into another fermenter so that the yeast remains at the bottom of the first vessel. At this stage of home beer production, the tightness of the vessel is very important; it should be sealed with a fermentation airlock. The purpose of quiet fermentation is to obtain a clear drink. The longer this process lasts, the clearer the beer will be. However, connoisseurs argue that too much of a good thing can be bad, and they suggest that beer should be clarified for about 2.5 weeks.
- Beer Refermentation and Bottling
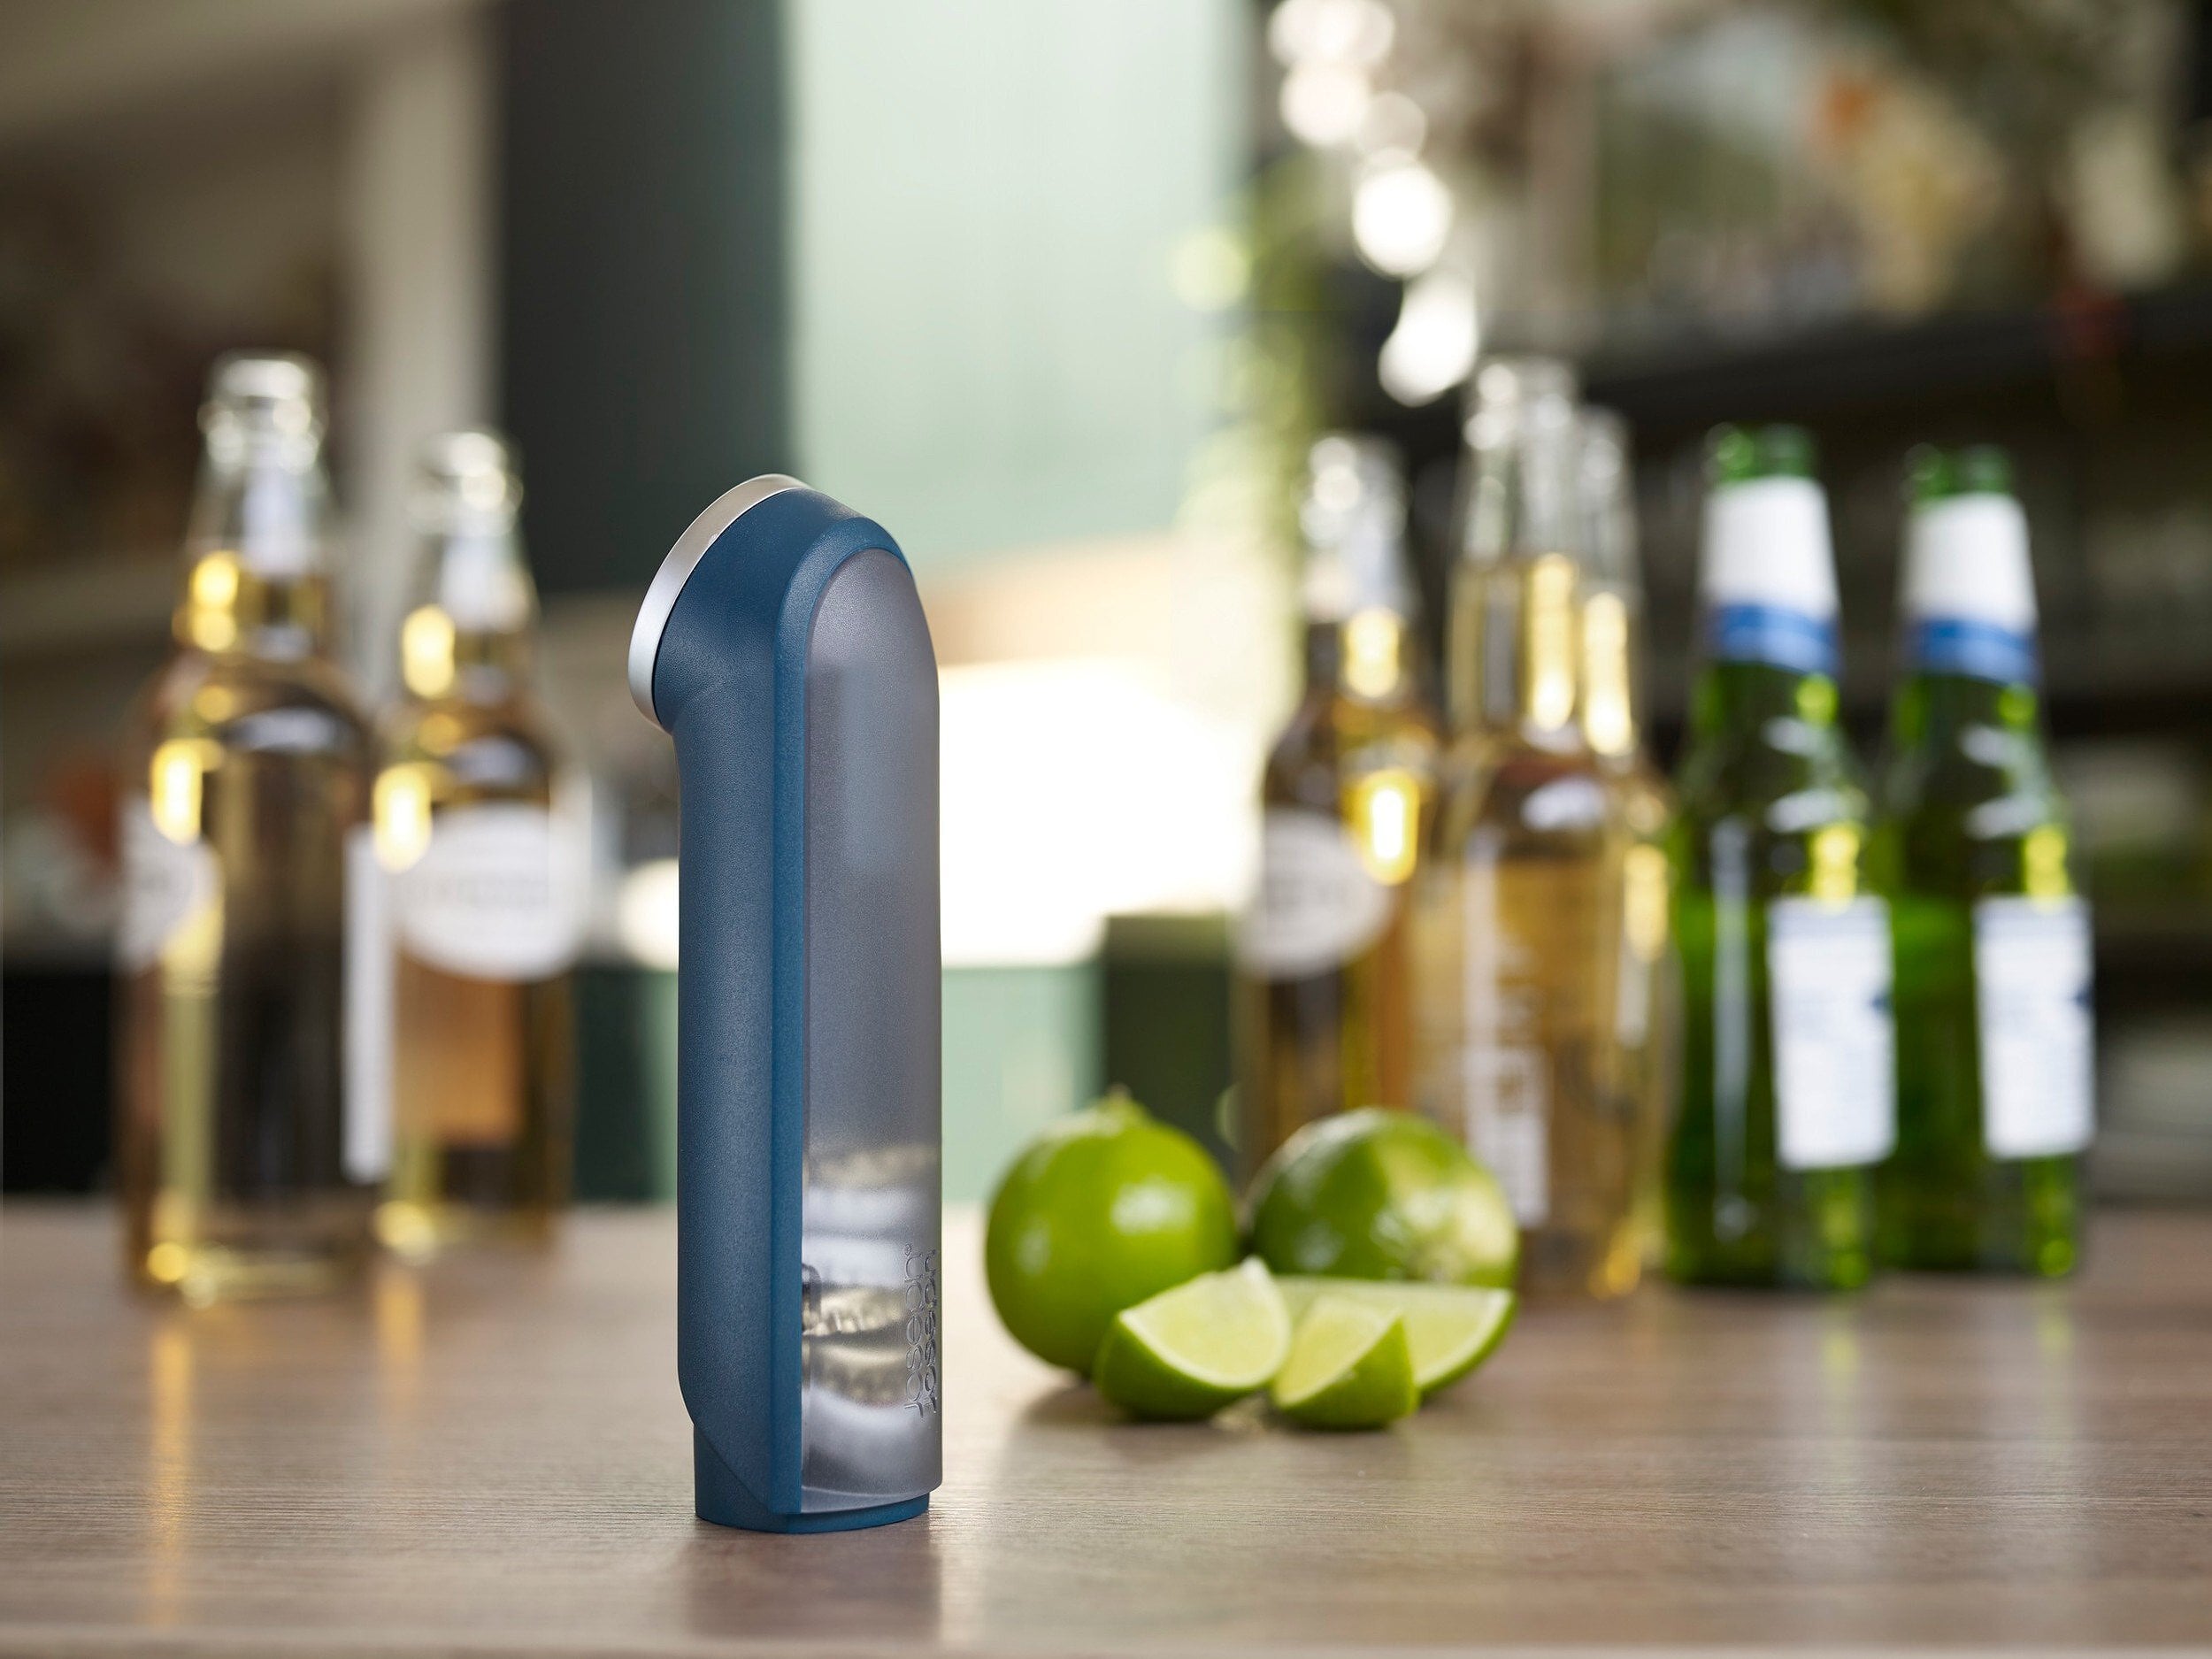
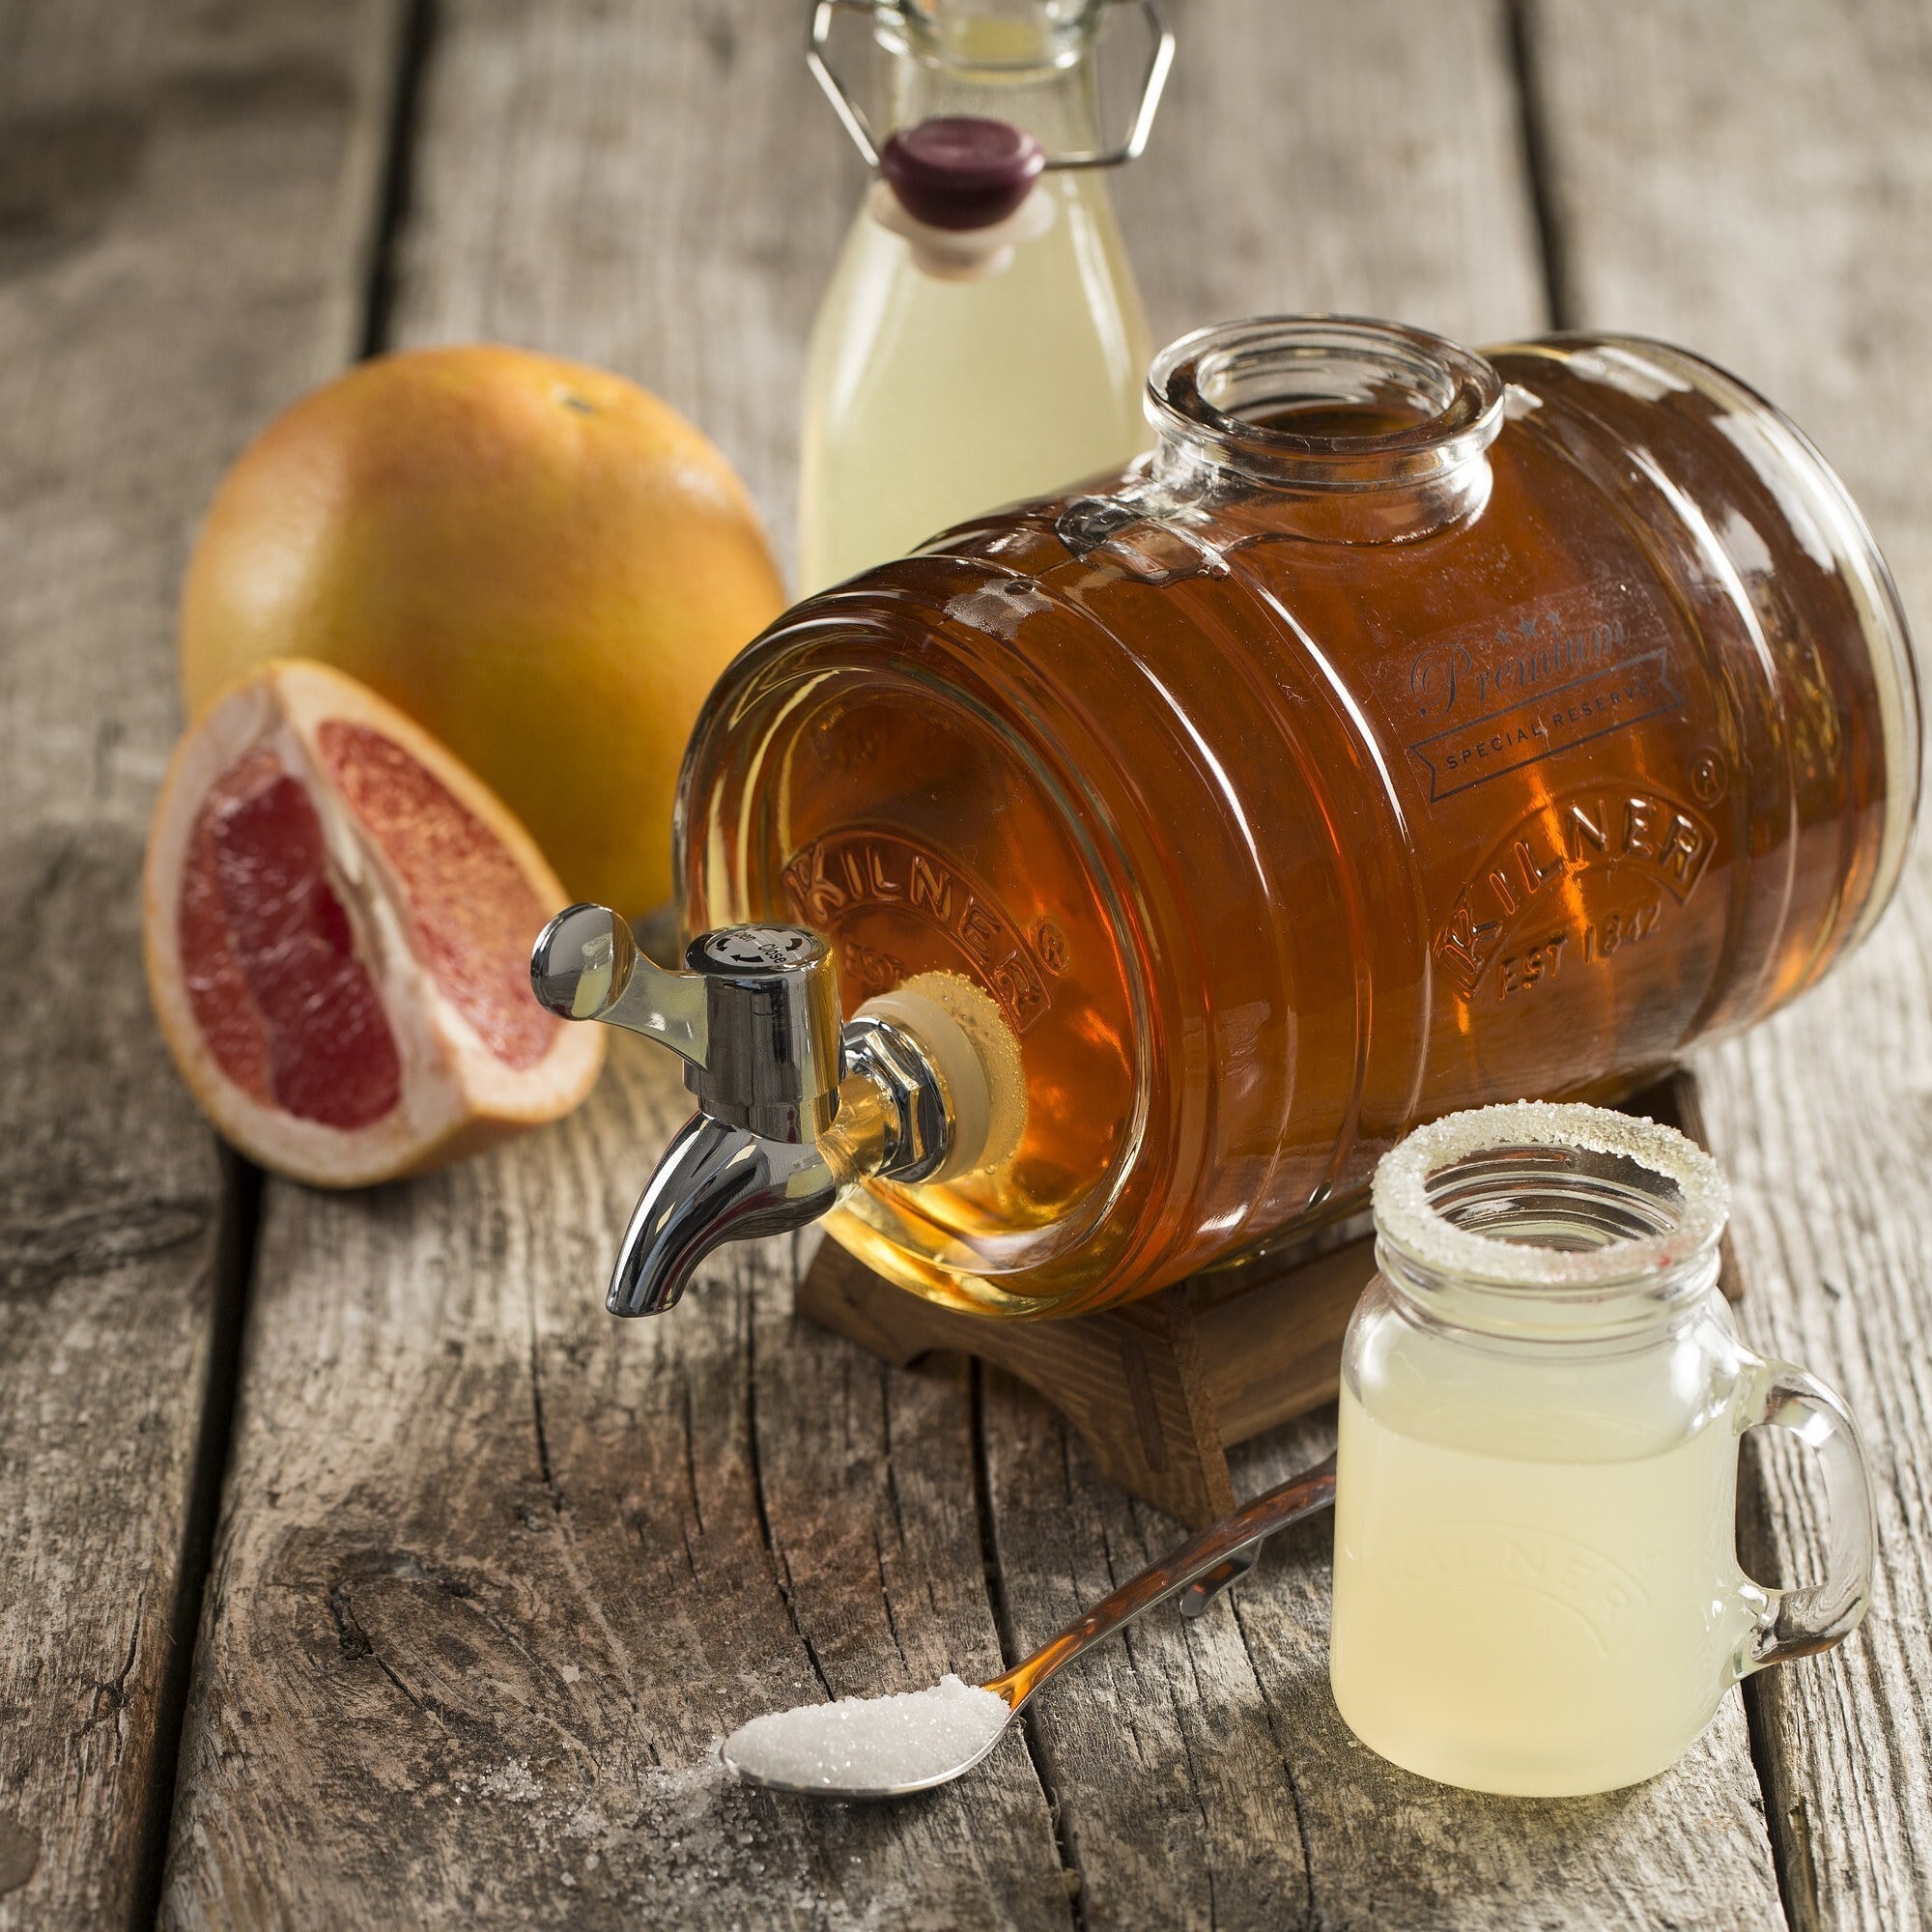
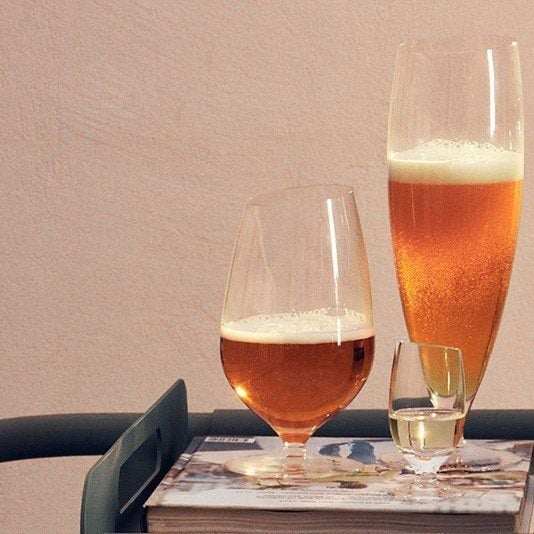
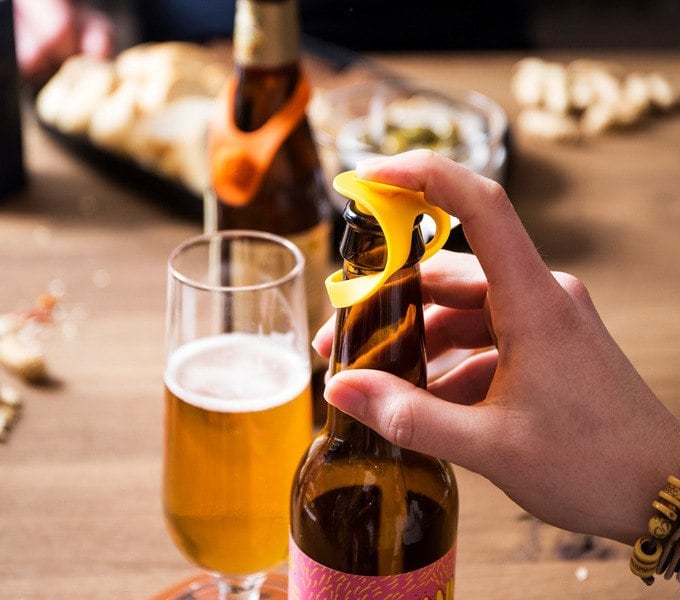
You're so close now to holding a bottle of homemade beer, opening it with a bottle opener, pouring it into a pint glass, and revelling in the taste of your self-brewed golden drink! And if you want to show off your homemade beer at a party, we suggest pouring it into an impressive-looking dispenser with a tap.
Before we get to the good part, however, you must referment the beer, which means that after quiet fermentation is complete, the beer should be transferred again to a sterilised fermenter with a tap and glucose or malt extract added to it. Now there's nothing left but to pour the beer into well-washed and sterilised bottles and cap them using a bottle capper.
Thanks to refermentation, the beer will be properly carbonated and clarified in the bottle, and will acquire an exquisite and aromatic taste. You still have to wait a little longer, as bottles of homemade beer should be stored in a dark and cool place for about 4 weeks.
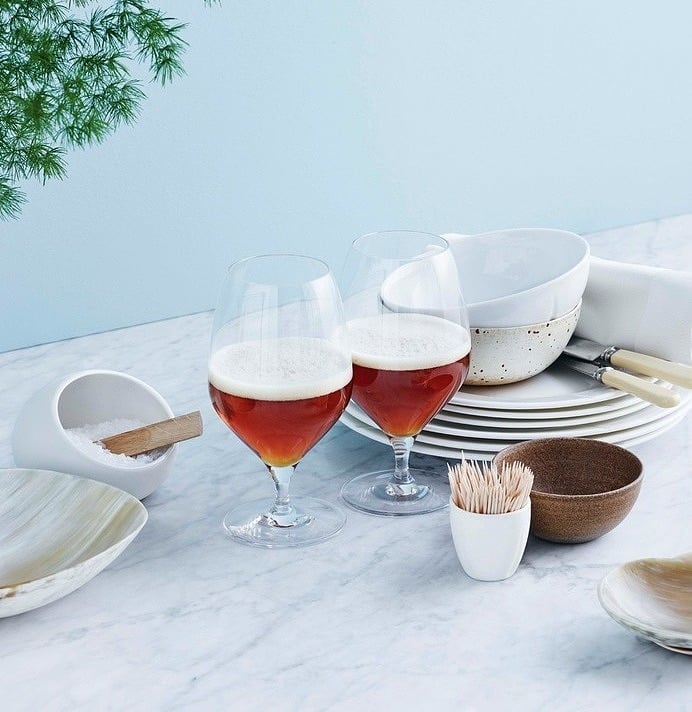
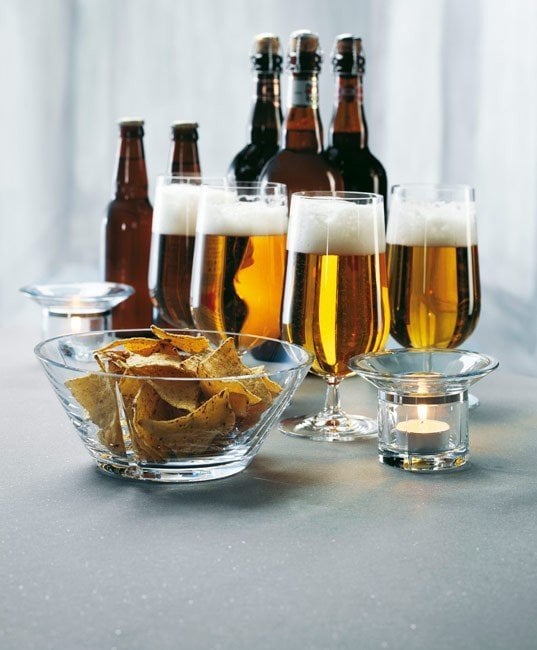
And then there's nothing left to do but try, taste, and luxuriate in the aroma of your own creation. Bear in mind that homemade beer foams more than what you'd find on a shop shelf, so it's recommended to chill the bottle of golden brew for at least a few hours before serving. You'll also reduce foaming if you hold the beer glass at a 45-degree angle while pouring the drink.


This might interest you!
Brewing beer at home is not difficult, although it is time-consuming and labour-intensive, requiring a great deal of patience. After all, the golden brew really needs a good few weeks to mature and delight with its exquisite taste and aroma. However, the results are truly worth it! Amateurs of the golden brew attest that homemade beer is very fresh and intense in flavour and truly knocks store-bought products into a cocked hat. Give it a go!